
On this page
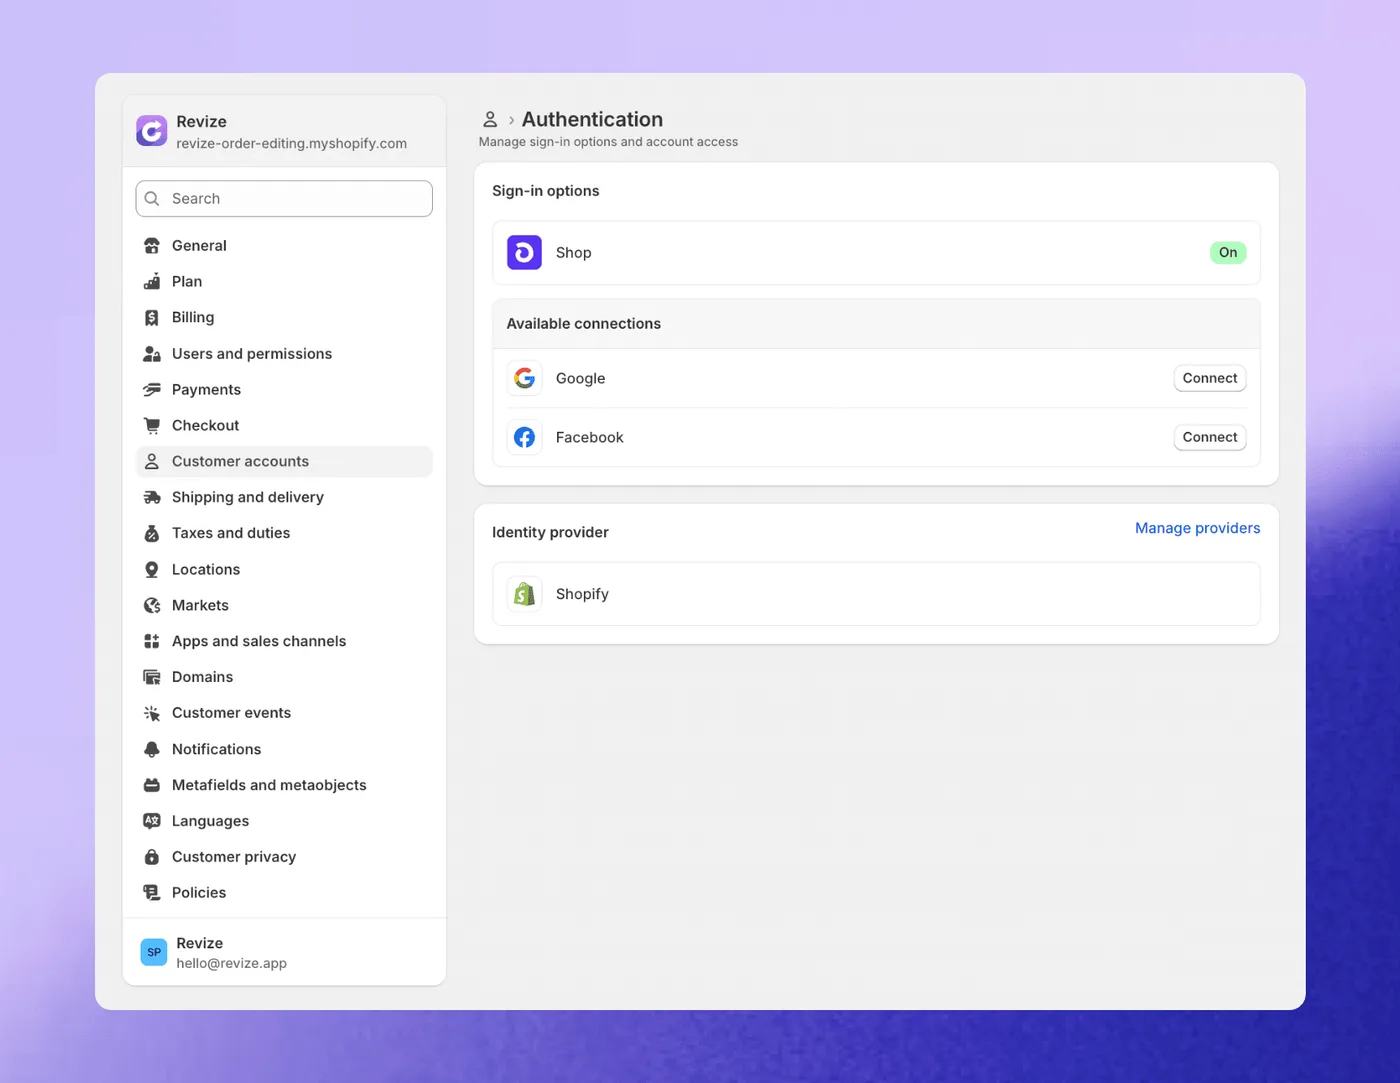
Shopify’s new customer accounts support passwordless sign-in by default, with optional Google and Facebook sign-in. If Shop Pay is active, customers can also sign in with Shop; that option is activated automatically. Shopify syncs only the customer’s email address from Google or Facebook sign-in, so don’t treat social sign-in as a source of a complete or independently verified customer profile.
This guide covers the current setup in Shopify Admin and the provider dashboards. Social sign-in requires a developer account with each provider you connect. Use Shopify’s social sign-in instructions for the current provider setup.
What Social Sign-In Adds to Customer Accounts
Social sign-in gives customers another way to authenticate with a familiar provider. It can reduce the need to remember a separate store password, but results vary by audience and should be measured rather than assumed.
- Offer a familiar sign-in option: Customers can choose Google or Facebook alongside the default passwordless experience.
- Reduce password friction: A provider sign-in may be easier for customers who prefer not to manage another password.
- Keep data expectations clear: Shopify receives the customer’s email address through social sign-in; other profile data is not synced by this feature.
- Measure the result: Compare sign-in completion and account-related support contacts before and after enabling it. Social sign-in alone does not guarantee higher conversion or fewer support requests.
Before You Start: Key Requirements
Before connecting a provider, confirm that your store uses New Customer Accounts. Social sign-in isn’t available with legacy customer accounts. You also need a developer account for each provider you connect:
- A Google Cloud account for Google sign-in.
- A Meta for Developers account for Facebook sign-in.
Shop Pay sign-in is available when Shop Pay is activated and is managed separately by Shopify.
How to Enable Social Sign-In on Shopify: Step-by-Step
Step 1: Navigate to Customer Account Settings
- In Shopify Admin, go to Settings > Customer accounts.
- In Authentication, click Manage.
- Click Connect next to Google or Facebook. Keep the Shopify setup page open; it provides the redirect and callback values required by the provider.
Step 2: How to Set Up Google Login on Shopify
- In Google Cloud Console, select or create a project.
- Configure the OAuth consent screen, then create an OAuth client with Web application as its application type.
- Copy the authorized redirect URI shown on Shopify’s Sign in with Google page into the Google OAuth client. Add every URI Shopify lists.
- Create the client, then paste its Client ID and Client secret into the Shopify credentials fields and save.
- In Google Cloud Console, publish the app from Audience. Follow Google’s review requirements if they apply to your app.
The current Shopify setup does not require the older Google+ API instructions found in legacy guides. If you change your customer accounts domain later, update the provider’s authorized origins and redirect URIs before changing the domain in Shopify.
Step 3: How to Set Up Facebook Login for Your Shopify Store
- In Meta for Developers, create an app and select the Facebook Login use case for authenticating users and requesting their data.
- In that use case, add the email permission. In the Meta app’s client OAuth settings, enter the redirect URL from Shopify’s Sign in with Facebook page, and add Shopify’s deauthorize URL in the matching field.
- Copy the Meta App ID and App secret into the Shopify credentials fields and save.
- In Shopify, use More actions > Preview to test the flow, then click Turn on.
Meta’s dashboard labels can change. Use the current redirect and callback values displayed in Shopify rather than copying URLs from an older tutorial.
Beyond Login: Customer Order Changes Before Fulfillment
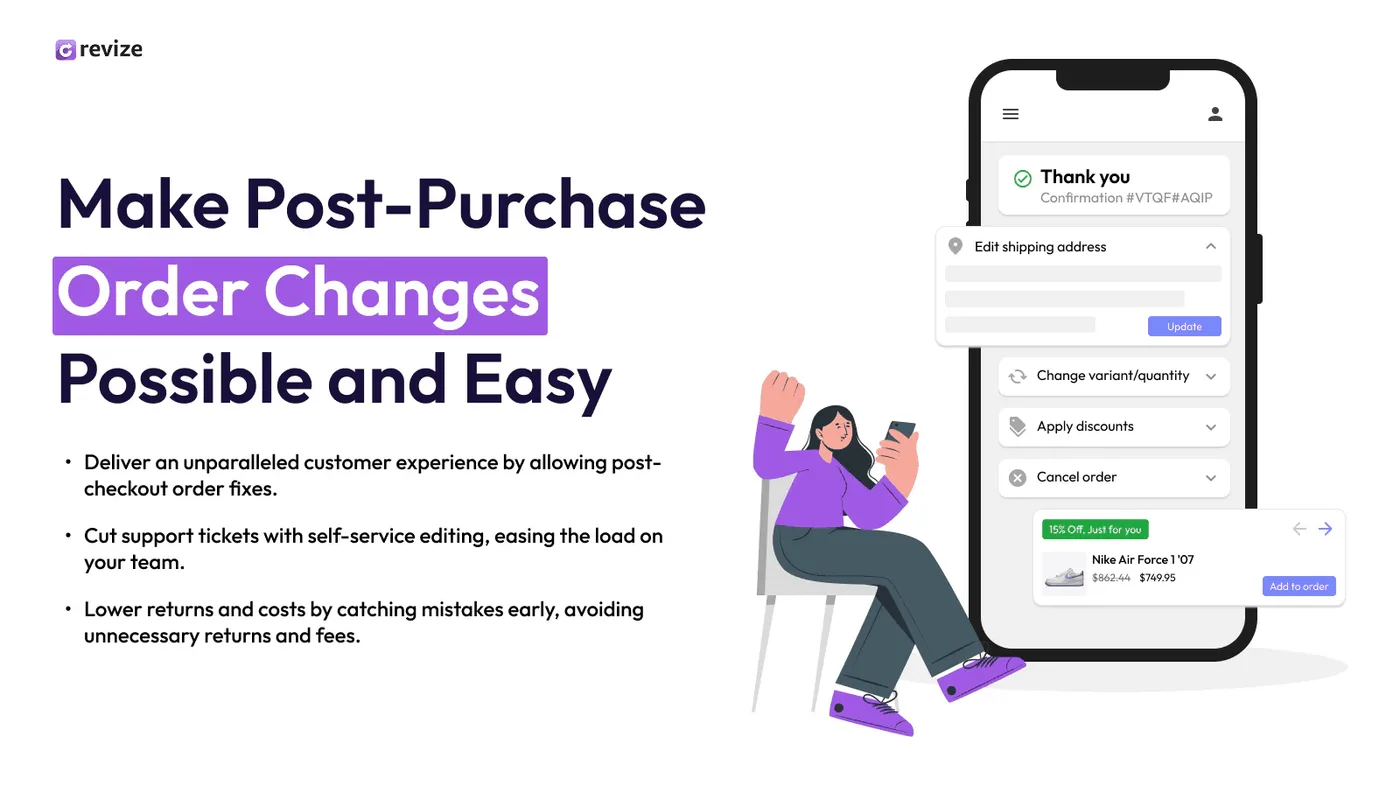
Social sign-in covers authentication; it doesn’t give customers a way to change an order after checkout. For that separate job, Revize provides customer self-serve order editing before fulfillment, within a merchant-set editing window. Shoppers use the enabled Revize app block on the Shopify order status or thank-you page, or the Edit Order link in the confirmation email.
The merchant chooses which edits are available and when the window closes. A time window by itself does not hold fulfillment; configure the appropriate hold mode and rules if fulfillment must wait while customers edit. See the Edit Shopify Orders After Checkout: 4 Ways That Work (2026) for the native options.
Measuring the Impact: What to Expect
After enabling a sign-in method, compare results with your own baseline. Useful measures include sign-in completion, account creation, and account-related support contacts, segmented by device and sign-in method where your analytics allow it.
Treat changes as an experiment: monitor the customer experience and provider errors, and avoid attributing conversion changes to social sign-in without checking other factors. Shopify’s account settings let you preview, turn off, or remove connected methods.
Related Reading
Shopify Order Editing Statistics (2026) · Shopify Customer Accounts: Upgrade Guide and Checkout Deadlines (2026) · Shopify Legacy Customer Accounts: Current Upgrade Guide (2026) · Redirect Shopify Login After Signup: 2026 Guide · How to Let Customers Edit Their Own Orders on Shopify (2026)